Search This Shit

Sunday, July 24, 2011

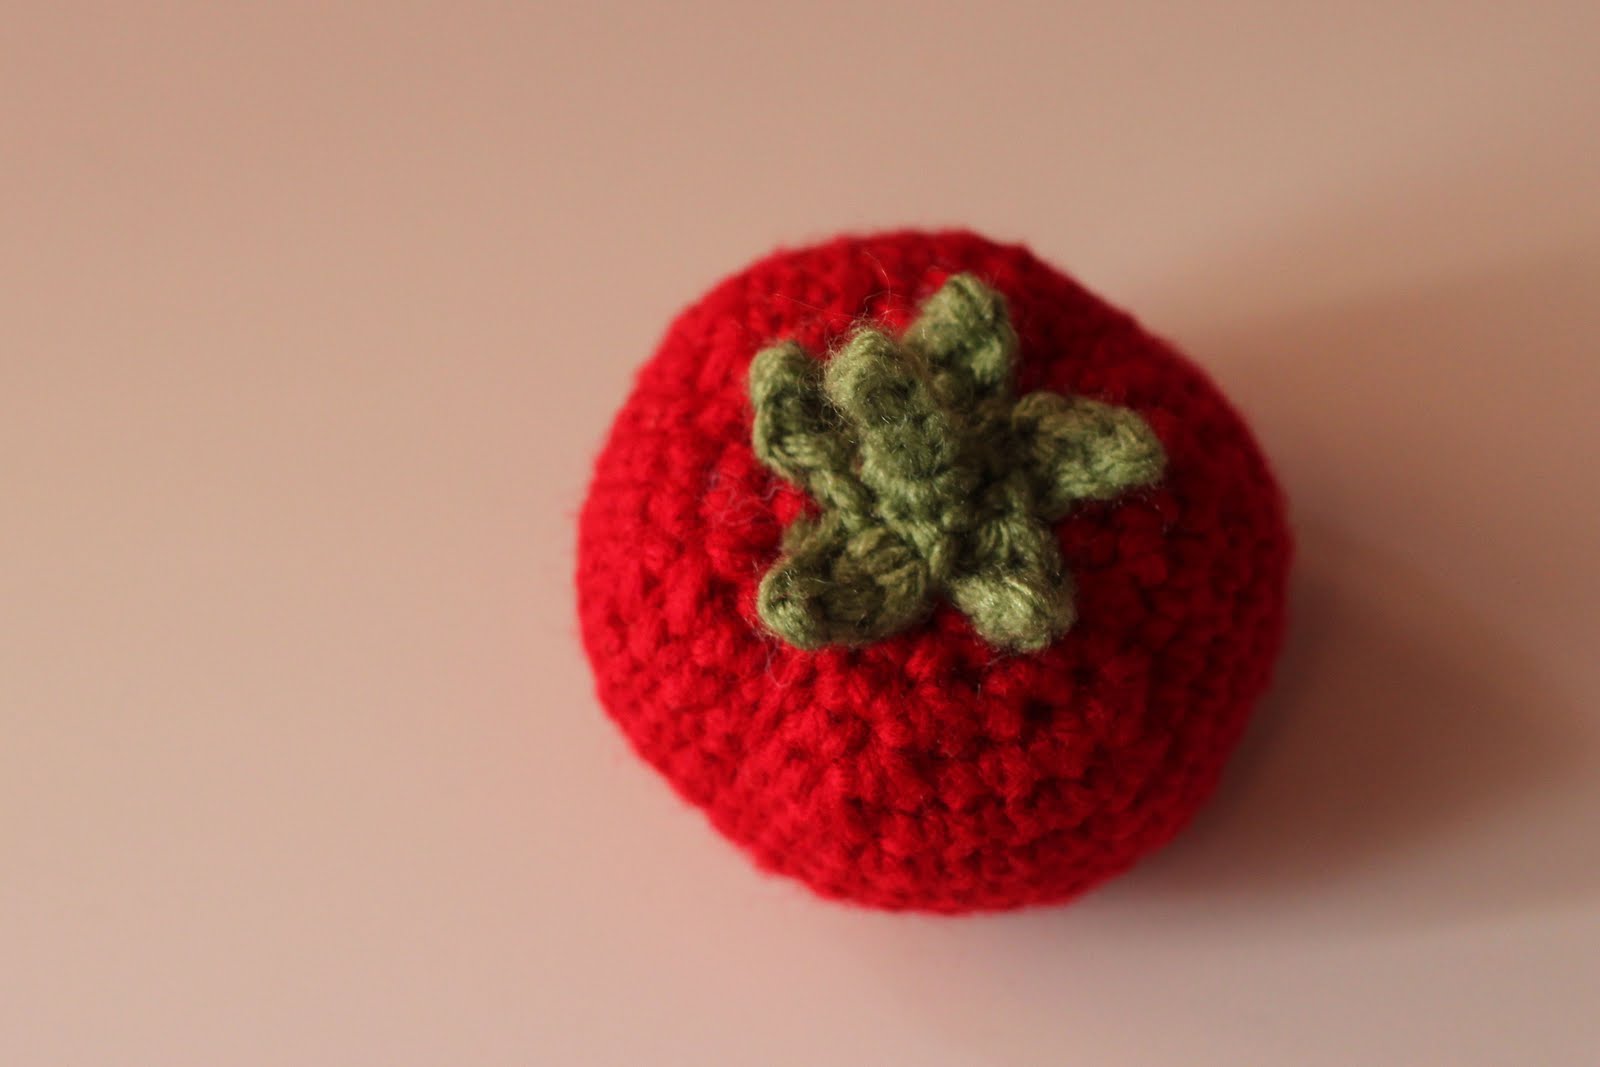
Tomato


MATERIALS

  • Worsted weight yarn in red and green
  • Size G hook
  • Tapest needle
  • Fiber fill


FRUIT


R1: SC 6 sts into magic ring, pull closed

R2: 2 SC in each st around (12 sts)

R3: *SC 1, 2 SC in next st* rep 6 times (18 sts)

R4: *SC 2, 2 SC in next st* rep 6 times (24 sts)

R5: *SC 3, 2 SC in next st* rep 6 times (30 sts)

R6: *SC 4, 2 SC in next st* rep 6 times (36 sts)


R7-R10: SC around (36 sts)


R11: *SC 4, dec 1* rep 6 times (30 sts)

R12:  *SC 3, dec 1* rep 6 times (24 sts)

R13:  *SC 2 dec 1* rep 6 times (18 sts)

At this point, stuff with fiberfill.

R14:  *SC 1, dec 1* rep 6 times (12 sts)

R15: SC in every other stitch. (6 sts)


Bind off and leave a long tail.


With an embroidery needle, take yarn and thread it about 1/3 of the way down the tomato, then back up the through middle, pulling tightly. Do the same thing three times equally around in a cross, then tie a knot and cut. You don't need to weave in ends because you're going to be sewing the stem to the top and hiding your mess, just make sure you have a good knot. This creates the ridges in  the tomato.


LEAVES


R1: 5 SC in magic loop, pull to close.


R2: Slip stitch in first st, chain 4, sl st in 2nd ch from hook, SC in next chain, HDC in last ch. Sl st in next st and repeat around until you have 5 leaves. Bind off, leaving tail for sewing.


STEM


Ch 5, sl st in 2nd ch from hook and all the way down, bind off and leave a tail for sewing.. With crochet hook, thread top stem through the magic ring in the leaves, leaving the tails on the underside. Secure the stem to the leaves on the underside by sewing them together and knotting underneath. 


Sew stem and leaves to tomato, but don't sew the leaves all the way down so that the tips curl up. Looks more realistic that way! Weave in ends, bind off. 


Tuesday, July 19, 2011

Buttercup from the Powerpuff Girls


MATERIALS
  • Worsted weight yarn in skin tone color, lime green, black, and white.
  • G Hook
  • E Hook (only the legs were done with this hook)
  • Tapestry needle
EYES (make 2)

R1: With white yarn, 6 sc in magic loop. Switch to black yarn, sl st
in first sc, ch 1

R2: 2 sc in each st, switch to green yarn, sl st in first sc, ch 1. (12 sts)

R3: Hdc and dc in same st, dc in next st. *Dc
twice in next st, dc in next st* Repeat from * 2 times. Hdc and sc in
next st, sl st in
next st. Bind off, leaving long tail for sewing.

Now, start a whole new circle.

R1: With white yarn magic loop 6 sc, sl st in first st, ch 1

R2: 2 sc in each sc, sl st in first sc, ch 1 (12 sts)

R3: 1 sc in first sc, 2 sc in next around (18 sts) sl st to close, ch 1

R4: 2 sc in next two sc, 2 sc in next sc around (24 sts) sl st to
close, bind off.   Sew iris and pupil to white. 


HEAD

R1: With skin color, 6 SC in magic loop

R2: 2 SC in each st around (12 sts)

R3: *SC 1, 2 SC in next st* rep 6 times (18 sts)

R4: *SC 2, 2 SC in next st* rep 6 times (24 sts)

R5: *SC 3, 2 SC in next st* rep 6 times (30 sts)

R6-R7: SC around (30 sts)

R8: *SC 4, 2 SC in next st* rep 6 times (36 sts)

R9: *SC 4, dec 1* rep 6 times (30 sts)

R10-R11: SC around (30 sts)

R12:  *SC 3, dec 1* rep 6 times (24 sts)

R13:  *SC 2 dec 1* rep 6 times (18 sts)

At this point attach eyes, embroider mouth, stuff with fiberfill.

R14:  *SC 1, dec 1* rep 6 times (12 sts)

R15: SC in every other stitch. (6 sts)

Bind off, weave in ends.

DRESS

With green yarn, chain 16. Join into ring with sl st in first ch.

R1-R2: Sc around (16 sts) Switch to black yarn with invisible color change.

R3-R5: Sc around (16 sts) Switch back to green yarn with invisible color change.

R6: Sc 7, 2 sc in next sc twice (18 sts)

R7-R8: Sc around, sl st to close, bind off leaving tail for sewing (18 sts)

Make green circle to sew inside dress (you will be attached the legs
to this circle)

R1: With green yarn, 4 sc in magic loop. Sl st to close, ch 1.

R2: 2 sc in each sc, sl st to close, ch 1 (8 sts)

R3: 1 sc in first sc, 2 sc in next sc around, sl st to close, bind off (12 sts)

Stuff dress 3/4 of the way, place circle inside dress, sew it in
place. You want it to only be 3/4 stuffed so that the legs looks like
they're coming out of the dress

ARMS (make 2)

R1: 6 SC in magic loop

R2: Sc around (6 sts)

R3: Sc 2 together, sc 1, sc 2 together, sc 1 (4 sts)

Sc around until desired length is reached, about 1.25" Bind off, leave tail for sewing.

LEGS (make 2)


R1: 5 SC in magic loop


R2: 2 SC in each st around (10 sts)


R3-R4: SC around (10 sts)


At this point, embroider stocking peep hole in shoe. 


Pick up stitch and switch to white yarn


R5-R10: SC around (10 sts) 


Bind off, leaving tail for sewing. Stuff and attach to dress. 


HAIR


R1: With black yarn, 6 SC in magic loop

R2: 2 SC in each st around (12 sts)

R3: *SC 1, 2 SC in next st* rep 6 times (18 sts)

R4: *SC 2, 2 SC in next st* rep 6 times (24 sts)

R5: *SC 3, 2 SC in next st* rep 6 times (30 sts)


R6: *SC 4, 2 SC in next st* rep 6 times (36 sts)


R7: *SC 5, 2 SC in next st* rep 6 times (42 sts)


R8: SC around to 42nd st ch 1, turn (42 sts)


R9: SC around back to 1st st, ch 1, turn (42sts) This is how you will continue to shape the bangs for the next 3 rows. (R10-R12)


Now you will start shaping the rest of the hair.


R13-R14: SC around, stop when there are 8 sts left, ch 1, turn. You have now completed the bangs and will continue to make the longer part of bob. (24 sts)


R14-R18: SC to end of row, CH 1, turn. (24 sts)


R19: SC in next 4 sts, SC 2 together across, CH 1, turn. (18 sts)


R20: SC across, CH 1, turn. (18 sts)


R21: SC in next 3 sts, SC 2 together across, bind off, leave a long tail for sewing. (12 sts)


You should now have a little, black hair helmet. Sew it onto Buttercup's hair, being sure to position it correctly. Once it's sewn on, fold up the bottom corners from front to back and sew them together to make the bob have more of that flipped appearance.


If anyone can think of a better way to make the hair, please let me know what you did! I am still not 100% satisfied with mine. Also, I forgot to write this down as I was making it, so I tried to figure out what I did by staring real hard at the hair on the doll. If you see any horrible mistakes, or if something seems impossible, please let me know! I want to share patterns that are actually easy to use. ;)


Sew all the body parts together, and you have a Powerpuff Girl! 


Mushroom

I made a mushroom last night.


MATERIALS

  • Worsted weight yarn in mushroomy colors. I used tan and dark brown.
  • Size F crochet hook.
  • Embroidery thread for gills.
  • Tapestry needle.


CAP

R1: With A yarn, 6SC in magic loop

R2: 1 SC in each st (6 sts)

R3: 2 SC in each st around (12 sts)

R4: *SC 1, 2 SC in next st* rep 6 times (18 sts)

R5: *SC 2, 2 SC in next st* rep 6 times (24 sts)

R6: *SC 3, 2 SC in next st* rep 6 times (30 sts)

R7: *SC 4, 2 SC in next st* rep 6 times (36 sts)

R8: *SC 5, 2 SC in next st* rep 6 times (42 sts)

R9: SC around (42 sts)

R10: *SC 5, dec 1* rep 6 times (36 sts)

R11: *SC 4, dec 1* rep 6 times (30 sts)

Bind off, leaving large strand for sewing.

GILLS

R1: With B yarn, 6SC in magic loop, sl st to close.

R2: CH 1, 2 SC in each st around, sl st to close (12 sts)

R3: CH 1,  *SC 1, 2 SC in next st* rep 6 times, sl st to close (18 sts)

R4: CH 1,  *SC 2, 2 SC in next st* rep 6 times, sl st to close (24 sts)

Bind off, weave in ends. Embroider gill lines with thread.


STEM

R1: With A yarn, 6SC in magic loop

R2: CH 1, 2 SC in each st around, sl st to close (12 sts)

R3: SC 12 around in BACK loops of stitches (12 sts)

R4-R5: SC around (12 sts)

R6: SC in next 4 sts, SC next 2 sts together, repeat once more. (10 sts)

R7-R10: SC around (10 sts) Bind off, leaving long tail for sewing.

Stuff stem with fiber fill, center on gills, and attach. After completed, sew gills with stem to the cap, stopping halfway through to stuff with fiber fill. Weave in ends, enjoy your mushroom!


Tuesday, July 12, 2011

OH MY GOD

I FINALLY FINISHED BUTTERCUP FROM THE POWERPUFF GIRLS. Will post pics and the pattern at some point this week. I seriously had a very hard time getting the motivation to finish her and I do not know why. I will probably take a PPG break for a bit and go back to focusing on food for awhile.

EDIT: Wait have a shitty cell phone pic now.

Monday, June 20, 2011

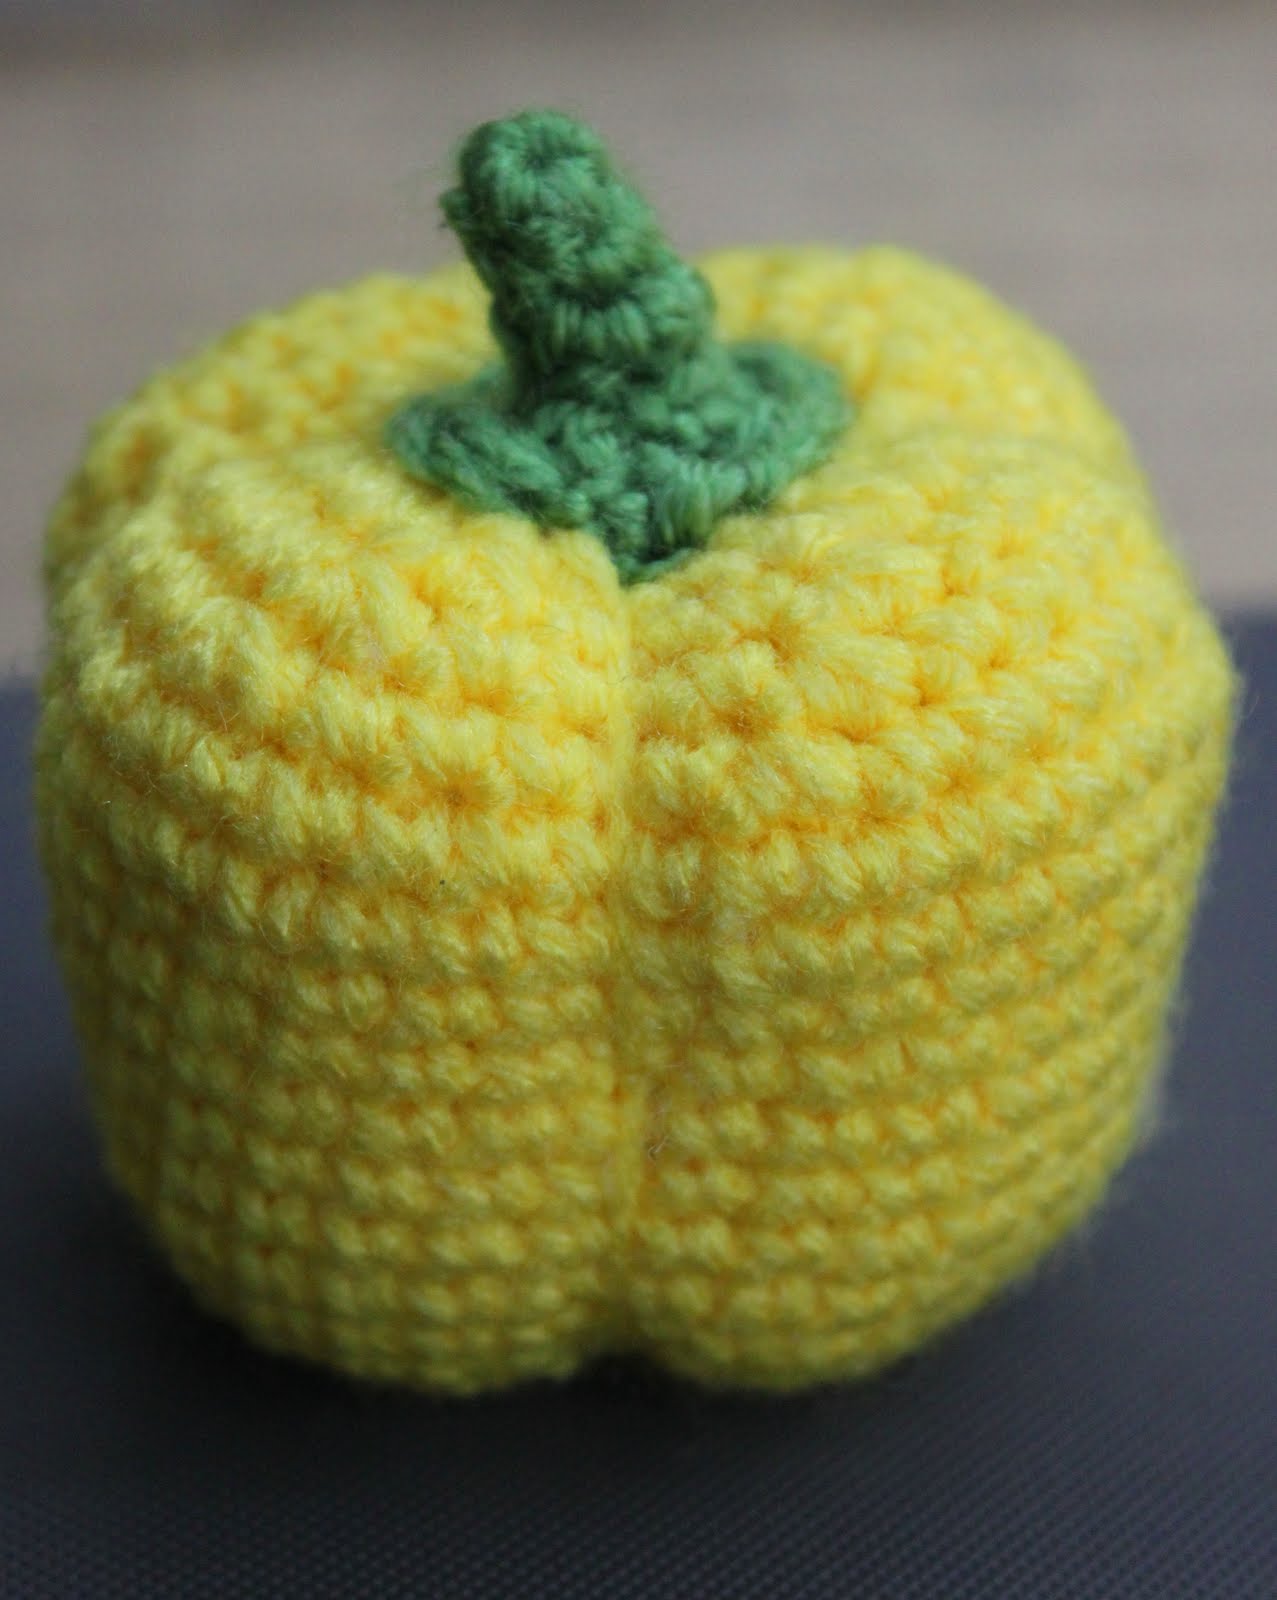
Bell Pepper


MATERIALS

  • E hook
  • Green, worsted weight yarn for stem
  • Any other color worsted weight yarn you want for the fruit
  • Tapestry needle
  • Fiberfill


FRUIT


R1: SC 6 sts into magic ring, pull closed

R3: 2 SC in each st around (12 sts)

R4: *SC 1, 2 SC in next st* rep 6 times (18 sts)

R5: *SC 2, 2 SC in next st* rep 6 times (24 sts)

R6: *SC 3, 2 SC in next st* rep 6 times (30 sts)

R7: *SC 4, 2 SC in next st* rep 6 times (36 sts)

R8 - R16: SC around (36 sts)

R17: *SC 5, 2 SC in next st* rep 6 times (42 sts)


R18-R19: SC around (42 sts)

R20:  *SC 5, dec 1* rep 6 times (36 sts)


R21: *SC 4, dec 1* rep 6 times (30 sts)


R22:  *SC 3, dec 1* rep 6 times (24 sts)


R23:  *SC 2 dec 1* rep 6 times (18 sts)


At this point, stuff with fiberfill.


R24:  *SC 1, dec 1* rep 6 times (12 sts)


R25: SC in every other stitch. (6 sts)


Bind off, leaving a very long tail. 


1. Starting at the top of the pepper, thread the long tail of yarn and pull it all the way around to the bottom of the pepper. 

2. Insert needle in bottom center of pepper and bring out to top center, pulling yarn tight.

3. Bring yarn back to the top of the pepper, and repeat first two steps on other half of the pepper, making sure you pull that yarn pretty tight. You pepper will look like this goatse thing again:

4. Repeat above steps so that your garlic pepper like this:

Now knot the yarn at the very top where it will be covered by the stem, then weave in ends. 


STEM


CH 4, sl st in first chain to create a loop


R1: CH 2, hdc in loop, *CH 2, start to DC, but only pull through first 2 loops, leaving 3rd alone (you will have 2 loops left on the hook at this point). YO as if to DC again, insert into ring, YO and pull through all 4 loops on hook* Repeat from * 5 times. Close round by slip stitching into top st in first CH 2, bind off, leaving a long tail so you can sew it to the pepper. 


If you think this is too complicated, just make a circle. I only did this because it's the start of a hexagon and I thought it might look more realistic, but it still turned out looking like a circle to me. :\


4 SC in magic loop, sc around until desired length is reached. Inc twice (6 sts), sc around one or two more rounds, leaving a long tail. Attach stem to base of stem. Attach entire stem piece to the top of the pepper, weave in ends, and you're finished!


Thursday, June 16, 2011

Garlic


This is super easy and super fast.

MATERIALS

  • Worsted weight tan and cream/white yarns
  • Size E hook
  • Tapestry needle
  • Purple embroidery thread (optional)
SC 5 sts into a magic ring with tan yarn. 

R1: Join magic ring with SS, CH 1, inc 5 times (10 sts)

Switch to cream colored yarn. 

R2: *SC in first sc, 2 SC in next sc*, repeat from * around (15 sts)

R3: *SC in next 2 sc, 2 SC in next sc*, repeat from * around (20 sts)

R4: *SC in next 3 sc, 2 SC in next sc*, repeat from * around (25 sts)

R5: *SC in next 4 sc, 2 SC in next sc*, repeat from * around (30 sts)

R6: *SC in next 5 sc, 2 SC in next sc*, repeat from * around (35 sts)

At this point, take several 2-3" long strands of tan yarn and thread them through the tan base. What I did was take a strand and thread both ends up from the RS to the WS, then I tied a tight knot and threaded the ends back through to the RS again. I just placed them randomly around, unraveled the yarn to make it look more like roots, then trimmed them to the appropriate length. 

R7-R10: SC around (35 sts)

R11: *SC in next 5 sc, SC 2 together*, repeat from * around (30 sts)

R12: *SC in next 4 sc, SC 2 together*, repeat from * around (25 sts)

R13: *SC in next 3 sc, SC 2 together*, repeat from * around (20 sts)

R14: *SC in next 2 sc, SC 2 together*, repeat from * around (15 sts)

R15: *SC in next sc, SC 2 together*, repeat from * around (10 sts)

Keeping your stitch live (I use a safety pin to hold it), stuff the garlic, then cut a very, very long strand of similar colored cream or white yarn (I happened to have two balls of the same colored yarn). Thread the yarn with an embroidery needle.

1. Starting at the top of the garlic, thread yarn from WS to RS and pull it almost all the way through, leaving a little bit of tail left so that you can knot it later. 

2. Insert needle in bottom center of garlic and bring out to top center, pulling yarn tight.

3. Bring yarn back to the top of the garlic, and repeat first two steps on other half of the garlic, making sure you pull that yarn pretty tight. You garlic will look like this:

So sort of like goatse!

4. Repeat above steps so that your garlic looks like this:

5. I did it one more time, so that I had some big lumps and small lumps so it would look more realistic.

6. Knot your yarn on the WS, and cut. 

Pick up your live stitch now!

R16-R17: Sc around (10 sts)

R18: Sc around, decreasing once or twice, bind off, weave in ends.


At this point you can leave your garlic as is, or embroider purple lines into the skin.


Sunday, June 12, 2011

I actually wrote a pattern down as I was making it!


So I'm working on this huge crochet project for a friend, making all the toy food for her kid's play kitchen. I saw an onion like this on Etsy, but I didn't want to pay for the pattern, so I attempted to wing it and make something similar up.  This is the first pattern I've ever written that has a lot of steps. If you see any mistakes, or if you think something can be done better/easier, please don't hesitate to speak up! I have no idea what I'm doing, I freely admit this. Also, if the layout of this post looks weird, you can blame Blogger and me being too lazy to give a shit.


ONION

E, F, or G hook depending on the size of the onion you want

White, rust/orangey, light green, and tan yarn

Embroidery needle

Cut about 4, 2.5" long pieces of tan yarn and tie together in a knot leaving the ends long. Unravel the yarn by pulling it apart until it looks like hair, or the root threads of an onion.

R1: Using white yarn, 6 SC in magic loop with knot of unraveled, tan yarn in the middle of the ring. This will create the root threads. I suggest securing the knot by sewing it into the onion too, I pulled my entire root thread about by accident and it really sucked stuffing it back in there since my onion was already STUFFED AND FINISHED. D:

R2: 1 SC in each st (6 sts)

R3: 2 SC in each st around (12 sts)

R4: *SC 1, 2 SC in next st* rep 6 times (18 sts)

R5: *SC 2, 2 SC in next st* rep 6 times (24 sts)

R6: *SC 3, 2 SC in next st* rep 6 times (30 sts)

R7: *SC 4, 2 SC in next st* rep 6 times (36 sts)

R8: *SC 5, 2 SC in next st* rep 6 times (42 sts)

R9 - R14: SC around (42 sts)
R15: *SC 5, dec 1* rep 6 times (36 sts)


R16: *SC 4, dec 1* rep 6 times (30 sts)

R17: *SC 3, dec 1* rep 6 times (24 sts)

R18: *SC 2, dec 1* rep 6 times (18 sts)

R19: *SC 1, dec 1* rep 6 times (12 sts)

R 20: Dec 6 times (6 sts)

R21- R22: SC around (6 sts)

Switch to green yarn

R23 - R26: Sc around (6 sts)


R27: SC 1, dec, ch 1 turn.


R28: SC 2, ch 1 turn


Continue until leaf reaches desired length, then dec so one st remains, turn and SC 1, bind off. You can have really long leaves or short ones, but I recommend short ones because it will be annoying to thread the skin around long leaves. 


To make second leaf, join  yarn at 4th st in R26 and repeat steps for first leaf. Bind off, weave in ends.


ONION SKIN 


With orange yarn, ch 13, join with SS in first SC to make a ring. 12 st


R1: *SC 1, 2 SC in next st* rep 6 times (18 sts)

R2: *SC 2, 2 SC in next st* rep 6 times (24 sts)

R3: *SC 3, 2 SC in next st* rep 6 times (30 sts)

R4: *SC 4, 2 SC in next st* rep 6 times (36 sts)

R5: *SC 5, 2 SC in next st* rep 6 times (42 sts)

R6-R12: SC around (42st)

R13-R15: SC 7, ch 1, turn

R16: SC 7, DO NOT CH 1, turn (this will create the first decrease)

R17: SC 4, dec 1, ch 1, turn (5 sts)

R18: SC 5, do not ch 1, turn

R19: SC 2, dec 1, ch 1, turn (3 sts)

R20: SC 3, ch 1, turn

R21: SC 3, do not ch 1, turn

R22: SC 2 (2 sts)

CH 10, join into a ring in 2nd ch, bind off.

To create the rest of the skin flaps, join at base of flap last made, and repeat steps. Weave in all ends, you're done!